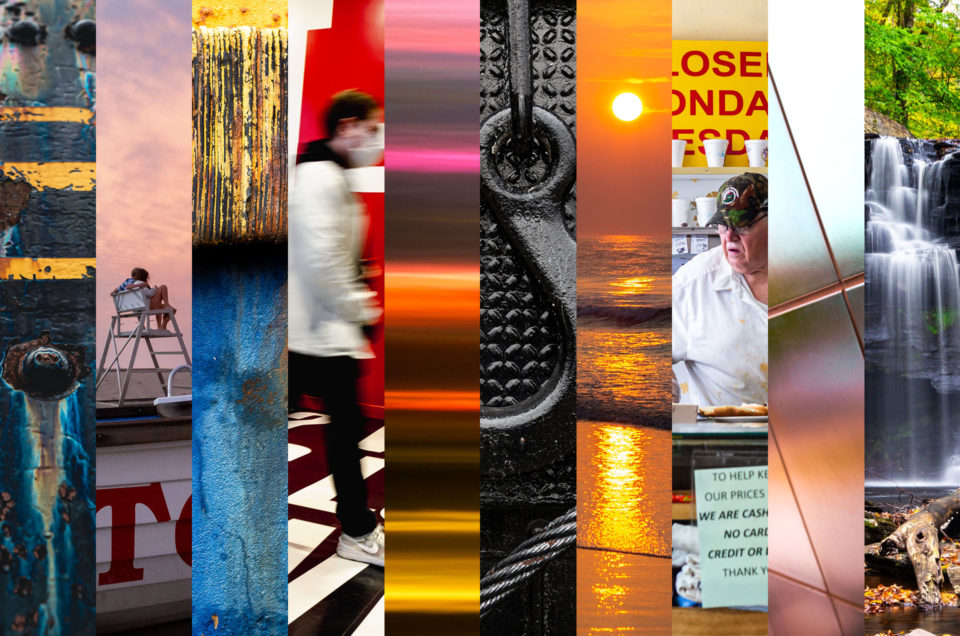
For the past nine years, I’ve been compiling two end of year slideshows consisting of my photography. One is dedicated to my favorite family-related photos, the other covers everything else. Sometime after 2012, the actual creation of the slideshows kind of petered out for… well… life reasons I guess, but I’ve recently “caught up.”
Better late than never right?
To a certain degree I’m a “maker” and I’m not truly happy unless I’m creating something, so these slideshows are mostly born out of me wanting to tinker around with software and keeping my fingers busy more than anything else. I take a certain amount of enjoyment out of them, and I suppose that’s all that matters. At least that’s what all my bargain rack self-help books say anyway.
The 2016 non-family version is embedded below, but you can find both types going back to 2008 here. If you’re interested in the 10,000-foot overview of how I put them together (or you need a guaranteed sleep aid,) there’s a short-not-short synopsis of that process below.
The Entirely True Story of Putting Together a Year-End Photo Slideshow or How I Learned to Stop Worrying and Love the Cull
Step 1. Photo Collection
Throughout the year I try to tag my photos when I’m keywording them if I feel they might be slideshow worthy (#photofave or #familyphotofave.) If I’m diligent with my tagging, I only have to do a quick search in Lightroom or Flickr at the end to cut the wheat from the chaff (If you’ve ever wondered what chaff is, click here.) This is the most efficient way to go about compiling your best photos and it happens this way for me roughly 0% of the time. In reality somewhere around April I start to forget to tag my favorites and come December I have to review my entire years’ worth of photos to pick out the ones I want to use. #2017goals
Step 2. Culling to Just Your Favorites
I find that about 75-85 photos is the sweet spot for most slideshows that last about 3-4 minutes long (the length of an average pop song) with shorter per slide view times. If you want to linger on photos for 3 or more seconds, you’re going to have to go for a lower number of total photos. Once I have a specific number in mind, I identify the stronger photos and kill off the weaklings to meet that number. If I had to cut down to 40-50, the decisions would be much harder. Not like Sophie’s Choice hard, but more like, “Where are we going to go to dinner tonight?” hard.
Step 3. Choosing your presentation aspect ratio and editing the photos accordingly
Since most televisions and computer screens are a wider aspect ratio than how your camera actually takes photos, I tend to crop my photos to the 16×9 aspect ratio and resize them to 1920 pixels on the long edge so they fill the entire screen during the slideshow. Of course, this means cropping my horizontal photos down from their original 3×2 aspect ratio (for verticals, I just resize them to 1080 pixels on the long edge and deal with the darkness on either side.) For most photos, this isn’t as hard a crop to make (while still retaining what your truly like about an image) as say an 8×10 aspect ratio would be. If the 16×9 crop really doesn’t work for a specific photo, I tend to omit it from the slideshow or leave black bars on either side (or in the case of an extreme panorama, the top and bottom.)
In the past, I’ve done some Ken Burns style zooming and panning, and if you decide to do that remember to leave a little more megapixels on the bone. If you decide to go with an HD presentation at 1920 x1080 you would need to make sure your photo dimensions are slightly larger than that to allow for the zooms and pans.
Of course, these days everyone else is viewing your carefully crafted media on their tiny phone screens so having that wide 16×9 aspect ratio probably isn’t all that important if your intent is to have as many people see it as possible. In that case, you can literally make your slideshow any dimension you want. Keep in mind that the wider you make the longer edge of the video, the smaller said video will appear on people’s phones. And they’re not going to turn it sideways just to watch you precious video, don’t kid yourself. They don’t even turn it sideways when they SHOOT video…. heathens.
Step 4. Assembling an Exporting Your Video
There’s lots of options out there that will get the job done, but I use Adobe Premiere CC to assemble my slideshow. I used to do all kinds of fancy animations, especially with the family slideshow, but I tend to keep things simple now. This way, I can try to keep the focus on the images themselves. And also… laziness.
I add a title slide, add a simple dissolve transition between the photos, and make sure the music I selected fits the number of photos I have. If it doesn’t fit the music length, I simply re-import all my photos with a slightly different duration per slide until I get a better match.
After that’s all squared away, I use one of Premiere’s online presets to export a .mp4 file and then it’s off to upload land!
The whole process from selection to completion probably takes no more than 3-4 hours of work, but I tend to drag it out over a couple of days, trying to put each piece in its proper place. I’m not sure how much longer I’ll continue this annual tradition, but for now I’m officially caught up and tagging (not really) for the 2017 versions to come. Hopefully, they’ll debut before May next time.


2 Comments
My favorite photos usually include the green foliage with a dew drop ready to fall. I also love gates and iron fences. The attraction to rust that you and Jackie both have is unique as most of it’s beauty has passed away. Your boys have been your best subjects through the years Nothing surpasses the beauty and wonder in the face of a child They have never shied away from the camera. I can only imagine their lives recorded in your photos for a life time. Enjoyed your year in review.
Thanks Aunt Sandy!