You may not have heard about this obscure news item, but our government has mandated we stay at home for a spell. After you’ve cleaned your bathrooms for the third time in one day, hand-picked every single dandelion from your (and your neighbor’s) lawn, and argued extensively with your 9-year-old over the structural integrity of his Minecraft home (He’s doing it all wrong. There, I said it.) there still seems to be time in the day for other activities. Why not take some photos?
Since we’re mostly relegated to what we can shoot in and around the house, I’ve decided to indulge in genres of photography you’ve definitely seen before, but maybe never got around to attempting yourself. Let’s call them “Cliché Classics.” Sounds pithy enough.
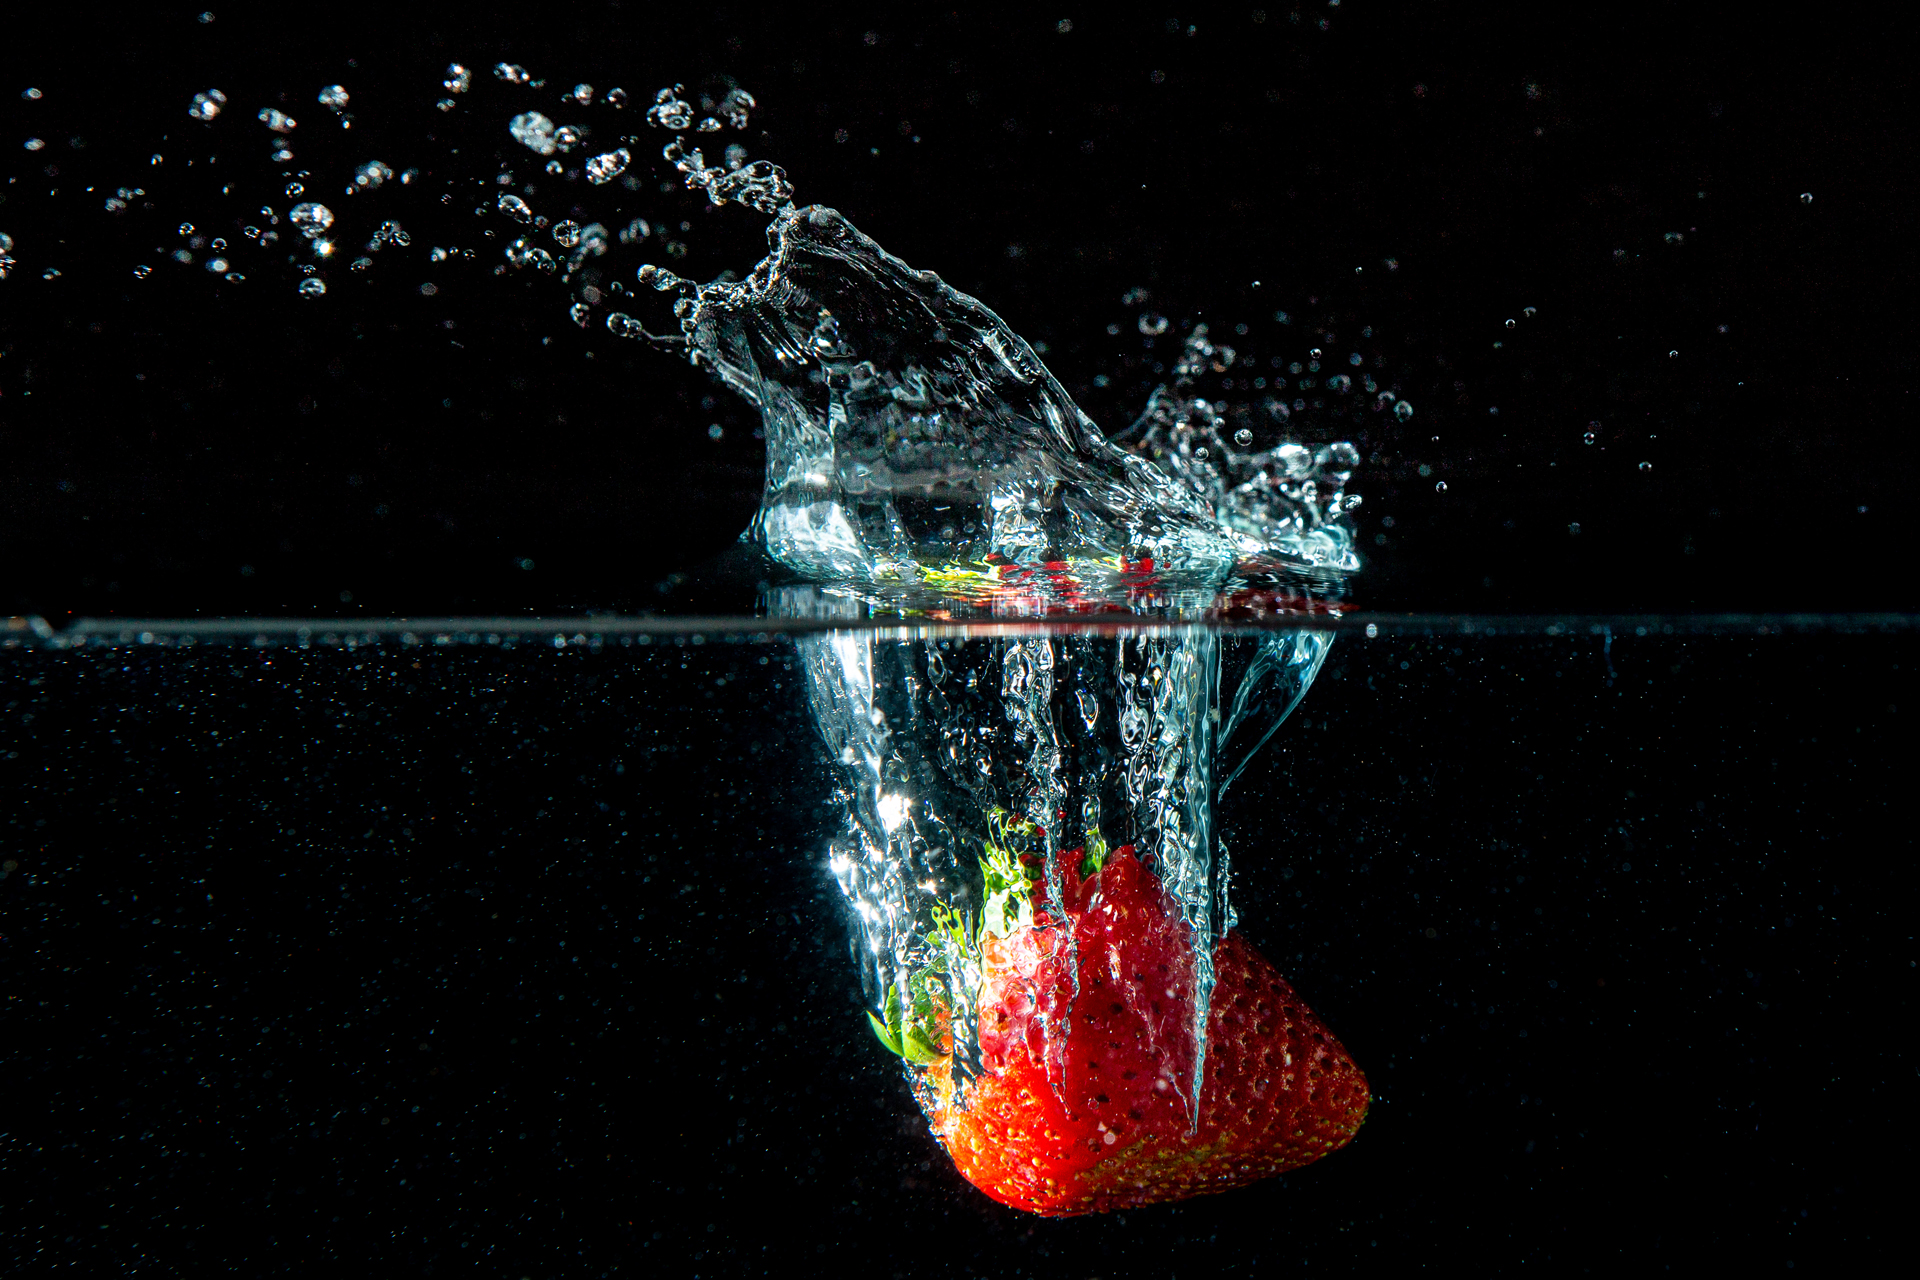
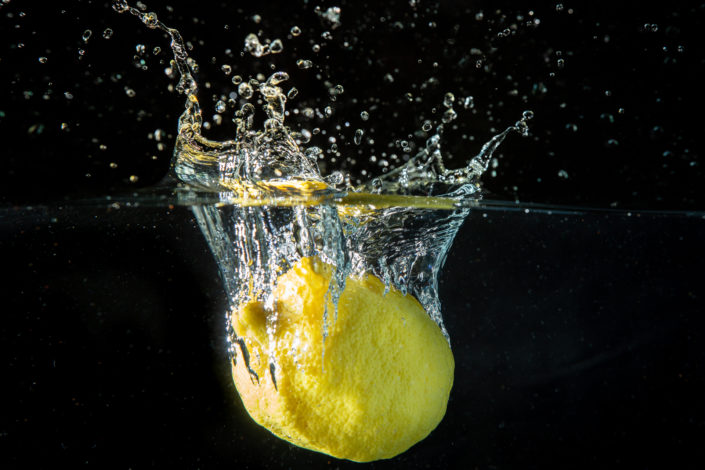
First on the docket, a genre I like to call splashdown photography. You’ve seen the photos of dramatically lit, impossibly perfect, non-quarantined pieces of fruit piercing the surface of a pool of water. The resulting splash creating an abstract droplet crescendo just above the surface. No? Well they’re pretty cool, and honestly, you need to refresh your Instagram feed. Anyway, let’s give it a go!
The Setup
Let’s make a short list of what you’ll need, besides your camera and lens, to get similar(ish) results.
- I used two flashes but you probably only need one.
- A way to trigger said flashes off-camera. I used a 6-foot TTL cord, and an optical slave trigger for the second flash.
- A tripod.
- A remote release. You could probably fire your camera safely enough with the remote, but why introduce additional camera shake when you don’t need to?
- A fish tank or clear glass container that has a flat front and is deep enough to drop objects in. A large enough vase or pitcher would probably work too as long as you’re not getting distortion from the curvature of the glass.
- A black backdrop. I used a bedsheet, but the black side of a 5 in 1 reflector or black foam core would work just as well if you don’t mind them getting wet.
- Water. Duh.
- Objects to drop. We used fruit we had on hand and some other things we found around the house.

For future Cliché Classics, I pinky swear to take actual photos of the setup, but in the meantime, you’ll have to accept this crudely photoshopped version of what I had set up on a folding table professional photo stand in my garage home studio.
Once I had the tank about ¾ full of tap water, I clamped a double folded black bedsheet to the back of the tank to keep the background dark. I set up two flashes directly on either side of the glass, one triggered by a long cord attached to my camera, and one triggered by an optical sensor. To keep the light from the flashes from spilling on to the background, I constructed a crude flag for each by rubber-banding a black DVD case to the appropriate side on the head of each flash.
For the lighting, I set the flash on the right-hand side to about 1/32 power and the one on the left to 1/64. I found this illuminated the subject well without overexposing the water in the tank while still providing a little depth to the dropped objects. I set my camera to 1/160 of a second and my aperture to f/10 to make sure I had a reasonable expectation to get most of the objects in focus. Speaking of focus, I made sure to have my helper stick his hand in the drop zone of the tank approximately where the items would fall so I could pre-focus. Then I could turn AF off and not have to worry about focus hunting during the crucial splashdowns.
Once we had that set up ready to go, it was just drop, fire, wipe-down (as if we aren’t doing enough of that these days), and repeat.
The Results
Things I Learned
- Even when you’re dropping small items into the tank, the splash can be widespread. Maybe put a plastic bag on top of your nearby flashes to protect those delicate circuit boards inside. Also have lots of dry towels on hand. The splash zone is… significant.
- Having a willing assistant who can drop your subjects is key. Having a 9-year-old helper who has endless enthusiasm for dropping random objects into a tank of water is even better.
- If you’re using a speedlight (as opposed to continuous lighting) you are going to have a lot of “misses.” I mean, A LOT. You only get one shot per drop to get it right. Be patient, the ones you do end up nailing are that much cooler. With continuous lighting, you could shoot in burst mode and theoretically get more winners per drop.
- Frame your shot wider than you think you need to. I missed a lot of early shots because the objects were traveling through the water and out of frame. You would think after 20 years I would remember I can crop in after the fact to get rid of the bottom of the tank, etc.
- I found that keeping your eye level with the camera and the waterline helped time the shots better. If I stood above the camera while firing my success rate was much lower.
- If you’re going to shoot multiple types of objects, make sure to shoot the things that don’t “shed” first. Early on, my assistant and I were eager to shoot the lime slices and orange sections. After many hours of photoshopping floating fruit particles out of the water, I would probably save those for last next time.
- Editing the shots was pretty straightforward, but I did have to raise the exposure on the splash portions above the surface in pretty much every shot. If I ever do this again, I would position my second light a little further up to help brighten that area.
The Verdict
For a first attempt at this Cliché Classic, I think my assistant and I came up with some pretty compelling shots. There are a few things I would tweak here and there, but overall, I’m pretty pleased with the results. I give this photography project a 9 out of 10 on the quarantine project scale.




Leave a reply